
Impact Crusher Blow Bar Selection Guide: Matching Material to Metal
Introduction: Blow bars are the highest-cost consumable on an HSI crusher — and the wrong alloy choice is the most common cause of excessive wear costs. Use the wrong metal and you pay double in replacement frequency; use a brittle alloy on contaminated feed and bars shatter, risking machine damage. This guide gives you the framework to match alloy to application correctly.
What Are Blow Bars and Why Do They Matter?
Blow bars (also called hammers or beaters) are the replaceable steel bars mounted in pockets on the HSI crusher rotor. They are the first point of contact between the machine and the feed material. At typical rotor tip speeds of 25–45 m/s, the kinetic energy delivered to each impact is enormous — far exceeding what any static wear part experiences in a jaw or cone crusher.
This high-energy environment means that alloy selection must balance two competing requirements:
- Hardness — to resist abrasive wear from sliding contact with rock surfaces
- Toughness — to resist fracture from high-impact sudden loads, especially with oversized or contaminated feed
A very hard alloy like high chrome cast iron provides outstanding wear resistance but will shatter if a piece of rebar enters the machine. A tough alloy like manganese steel survives contaminated feed but wears faster on abrasive rock. The four main alloy families each occupy a different position on this hardness/toughness spectrum.
Key factors that determine the right alloy:
- Material compressive strength (MPa) — harder rock delivers more impact energy per blow
- Silica content (SiO₂ %) — silica is highly abrasive; above 10–15% SiO₂, wear rate rises sharply
- Impact severity — determined by rotor tip speed, feed size, and reduction ratio
- Feed contamination — rebar, tramp metal, oversized rock, or clay/moisture all affect the choice
The Four Main Blow Bar Materials
| Material | Best For | Silica Tolerance | Impact Tolerance | Wear Life | Breakage Risk | Notes |
|---|---|---|---|---|---|---|
| Manganese Steel (Mn14) | Recycled concrete, rebar, tramp metal, mixed demolition feed | Low–medium | Excellent — work-hardens under impact | Medium (300–600 h) | Very Low | Work-hardening surface becomes increasingly hard during operation. Safest choice for any contaminated feed. |
| Martensitic Steel | Limestone, asphalt, medium-hard quarry rock — the all-round choice | Medium | Good | High (600–1,200 h) | Medium | Best hardness/toughness balance for clean quarry feed. The default choice if you are unsure. |
| High Chrome Cast Iron | Clean dry limestone, asphalt millings, gypsum | Low | Low — brittle | Very High (1,000–2,000 h) | High | Never use with rebar or tramp metal — will shatter. Delivers lowest cost-per-hour on clean soft material. |
| Ceramic MMC (metal matrix composite) | High-silica rock, granite, quartzite — extreme abrasion | Very High | Low | 2–4× martensitic standard | Very High | Premium purchase cost; lowest cost-per-hour on highly abrasive clean material. Never use with rebar. |
Quick Selection Matrix — Match Rock Type to Alloy
| Rock / Application | Recommended Alloy | Why |
|---|---|---|
| Limestone (clean quarry) | Martensitic | Clean feed, medium hardness — best life-to-cost balance |
| Limestone (with overburden or occasional tramp) | Manganese | Occasional tramp metal risk; manganese absorbs impact without shattering |
| Dolomite | Martensitic | Similar hardness and abrasiveness to limestone; same logic applies |
| Recycled concrete (no rebar) | Martensitic or High Chrome | Clean feed with variable hardness; both alloys suitable |
| Recycled concrete (with rebar) | Manganese | Rebar delivers extreme impact; manganese work-hardens and absorbs it |
| Asphalt RAP (reclaimed asphalt pavement) | High Chrome or Martensitic | Adhesive, abrasive material; hard chrome resists adhesive wear well |
| River gravel (mixed hardness) | Martensitic | Mixed hardness and moderate abrasion; martensitic handles the variation |
| Granite / basalt (HSI application) | Ceramic MMC | Very high SiO₂ content (25–35%); only ceramic MMC provides acceptable wear life |
| Gypsum | High Chrome | Very soft, very clean — high chrome delivers outstanding wear life at lowest cost |
| Industrial minerals (phosphate, coal) | High Chrome | Low hardness, clean feed — high chrome is ideal |
How to Know When to Replace Your Blow Bars
Blow bar wear is normal and expected — the issue is detecting the right replacement trigger before bars become too worn to function safely or before uneven wear causes rotor imbalance.
- Thickness check: Replace when bar thickness has worn to 30–50% of original thickness — consult the OEM specification for your exact model and bar size.
- Output size monitoring: If product becomes coarser despite consistent apron settings, blow bars are worn and effectively reducing the rotor diameter — increasing the gap to the aprons.
- Visual inspection: Cracks on the bar face require immediate replacement — crack propagation is rapid and a broken bar can cause severe rotor pocket damage.
- Uneven wear pattern: Asymmetric wear across a set of bars usually indicates an off-center feed, uneven curtain gaps, or a rotor alignment issue — investigate the cause before fitting new bars.
Critical: Always replace blow bars in matched pairs. Weight tolerance between bars in a pair must not exceed ±2–3% of total bar weight. Uneven pairs cause rotor imbalance, which generates vibration, accelerates bearing wear, and in severe cases can damage the rotor body itself.
Step-by-Step: How to Change Blow Bars Safely
Blow bar changes must be performed following strict lockout/tagout procedure. There is no shortcut that is acceptable.
- Power down completely — apply lockout/tagout (LOTO) procedure on the main drive, conveyor drives, and hydraulic power unit. Verify energy is isolated with a multimeter before entering the crusher zone.
- Open crusher box hydraulically — use the hydraulic system to open the crusher hood or access door. Secure the open position with the mechanical safety pin or prop rod supplied by the OEM.
- Lock the rotor — insert the rotor locking device into the designated locking port. This prevents accidental rotor rotation while working inside the crusher.
- Loosen wedges — use an impact-grade ratchet or hydraulic torque tool to loosen the blow bar retaining wedges. Do not use an angle grinder to cut wedges — this damages the rotor pocket.
- Slide out old blow bars — use a wooden mallet only. Never use a steel hammer near the rotor or blow bars — spark risk in dusty environments. If a bar is stuck, use a hydraulic pusher tool.
- Clean rotor contact surfaces — use a wire brush to remove all rock debris and rust from the bar pocket seating surfaces. Good seating contact is essential for correct bar positioning.
- Insert new bars in the correct orientation — most blow bars are asymmetric. Check the manufacturer marking or arrow indicating the wear face direction. Installing backwards immediately doubles wear rate.
- Tighten wedges to OEM torque specification — use a calibrated torque wrench. Typical range is 200–400 Nm depending on model and wedge size.
- Re-check wedge tightness after 2–4 hours of operation — new bars bed in during the first hours; re-torquing is essential.
- Adjust CSS after installation — new blow bars have a larger radius than worn bars. The apron gap must be re-set after every bar change to maintain product gradation.
Cost-Per-Hour Comparison by Alloy
The purchase price of blow bars is not the correct metric — cost-per-operating-hour accounts for both price and life. A more expensive alloy that lasts twice as long has the same or better economics.
| Alloy | Typical Life in Limestone | Typical Life in Concrete | Cost-Per-Hour Comparison |
|---|---|---|---|
| Manganese Steel | 500–700 h | 300–600 h | Medium — lower purchase price partially offset by shorter life |
| Martensitic Steel | 800–1,200 h | 500–800 h | Best overall value for most clean quarry applications |
| High Chrome Cast Iron | 1,200–2,000 h | Not recommended — breaks | Lowest cost-per-hour on clean soft rock |
| Ceramic MMC | 2,000–4,000 h | Not recommended — breaks | High purchase price; lowest cost-per-hour on highly abrasive clean material |
The key takeaway: on clean abrasive feed (high-silica limestone, granite), the premium you pay for ceramic MMC bars is typically recovered within the first 1,500–2,000 operating hours through reduced change frequency and lower labor and downtime costs.
Related Articles
- Complete HSI Crusher Guide — working principle, sizing, maintenance, and cost-per-ton analysis.
- Impact Crusher Maintenance Schedule — daily, weekly, and monthly checklists to prevent unplanned downtime.
- Impact Crusher Troubleshooting Guide — diagnose and fix common faults quickly.
Conclusion
Blow bar alloy selection is not a one-size-fits-all decision — it is a site-specific engineering choice that directly determines your operating cost per tonne. Use the selection matrix in this guide as a starting point, verify against your actual rock characteristics and feed conditions, and monitor wear rates on the first set of new bars to calibrate future replacement intervals.
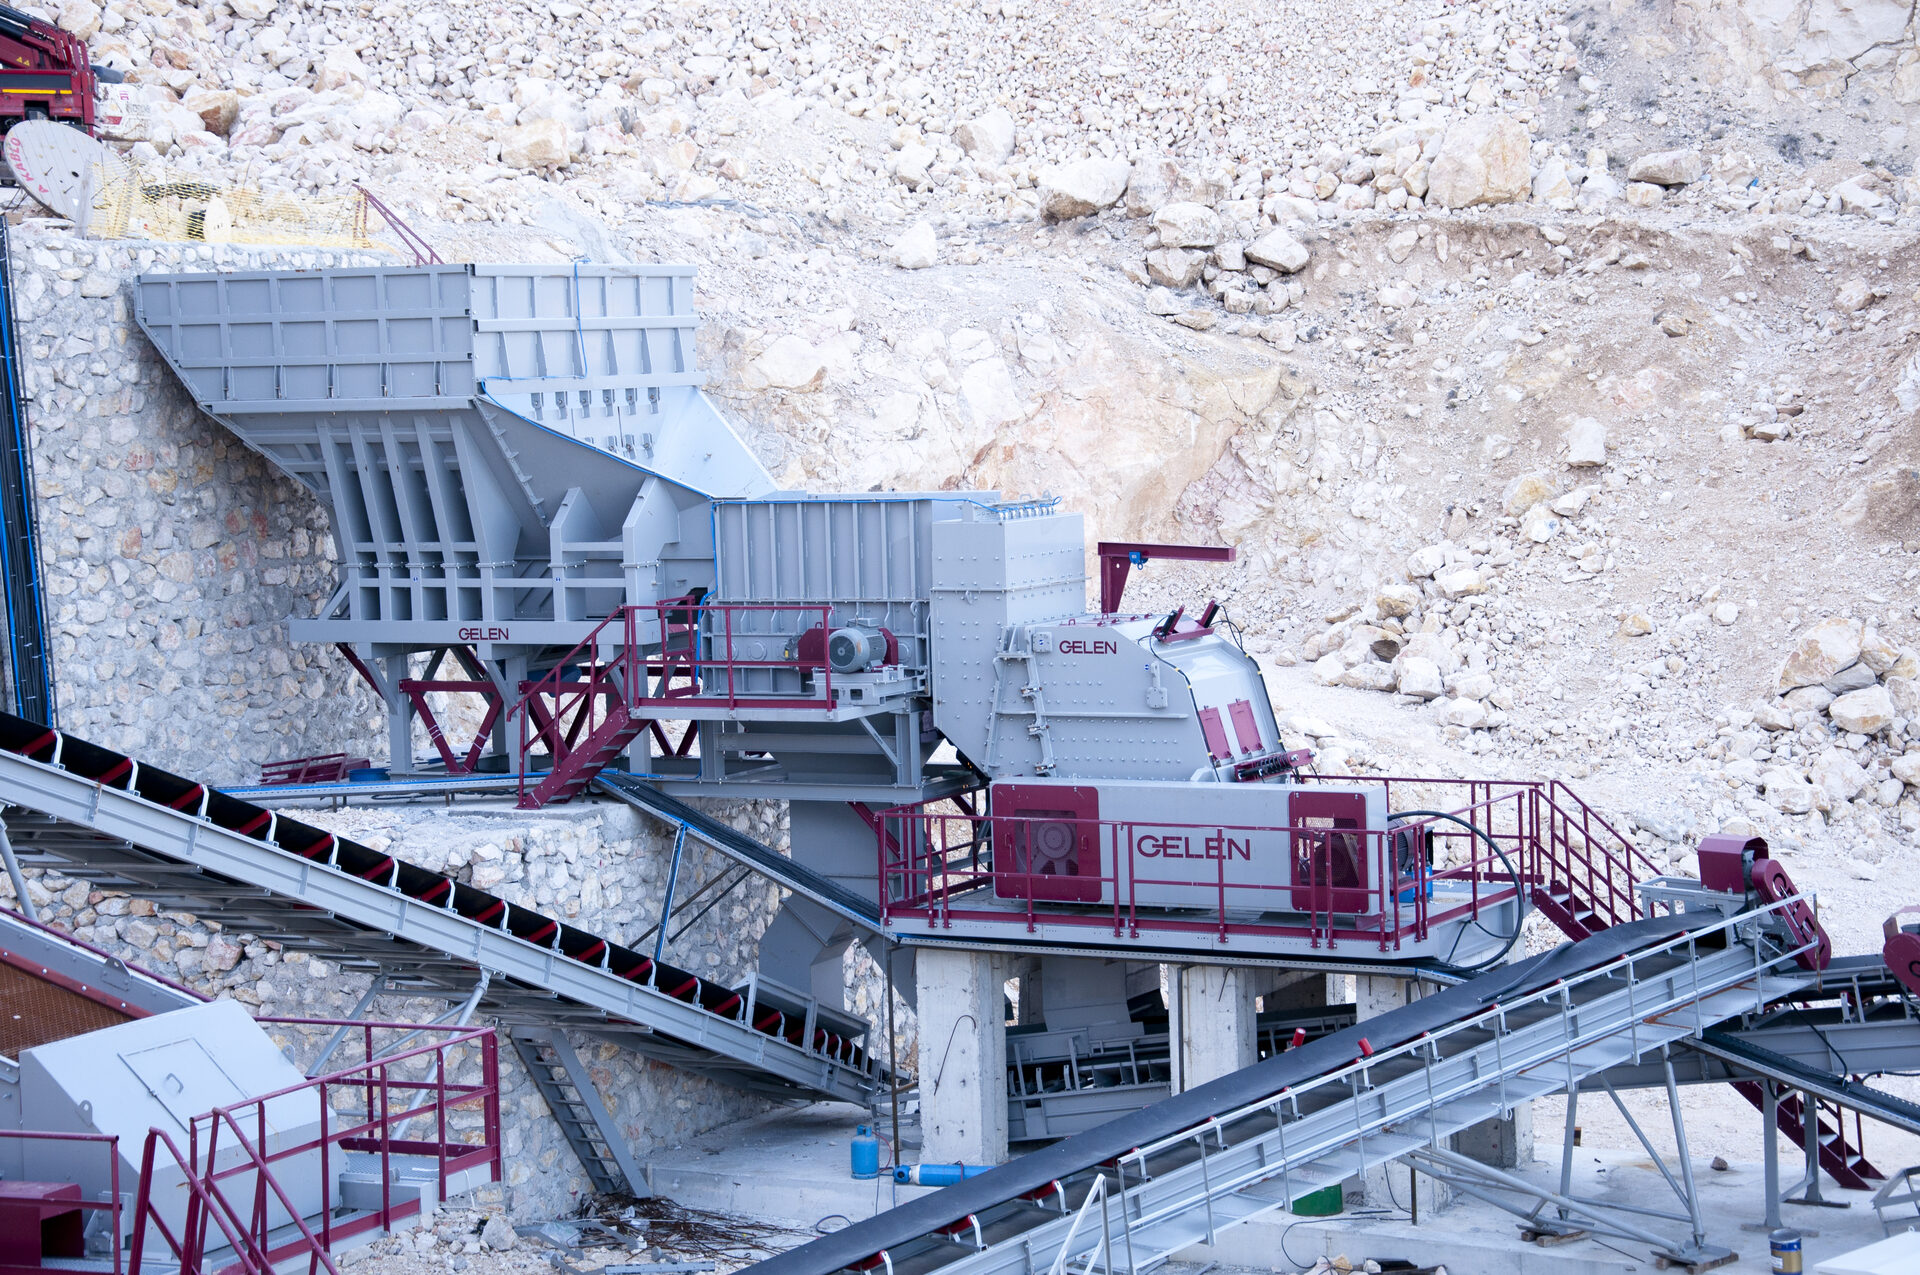
GELEN supplies replacement blow bars for all GELEN HSI crusher series — PDK, SDK, DST, TDK, and HTK — in all four alloy types. View the GELEN HSI crusher range or contact our parts team for blow bar specifications, pricing, and lead times for your specific model.