

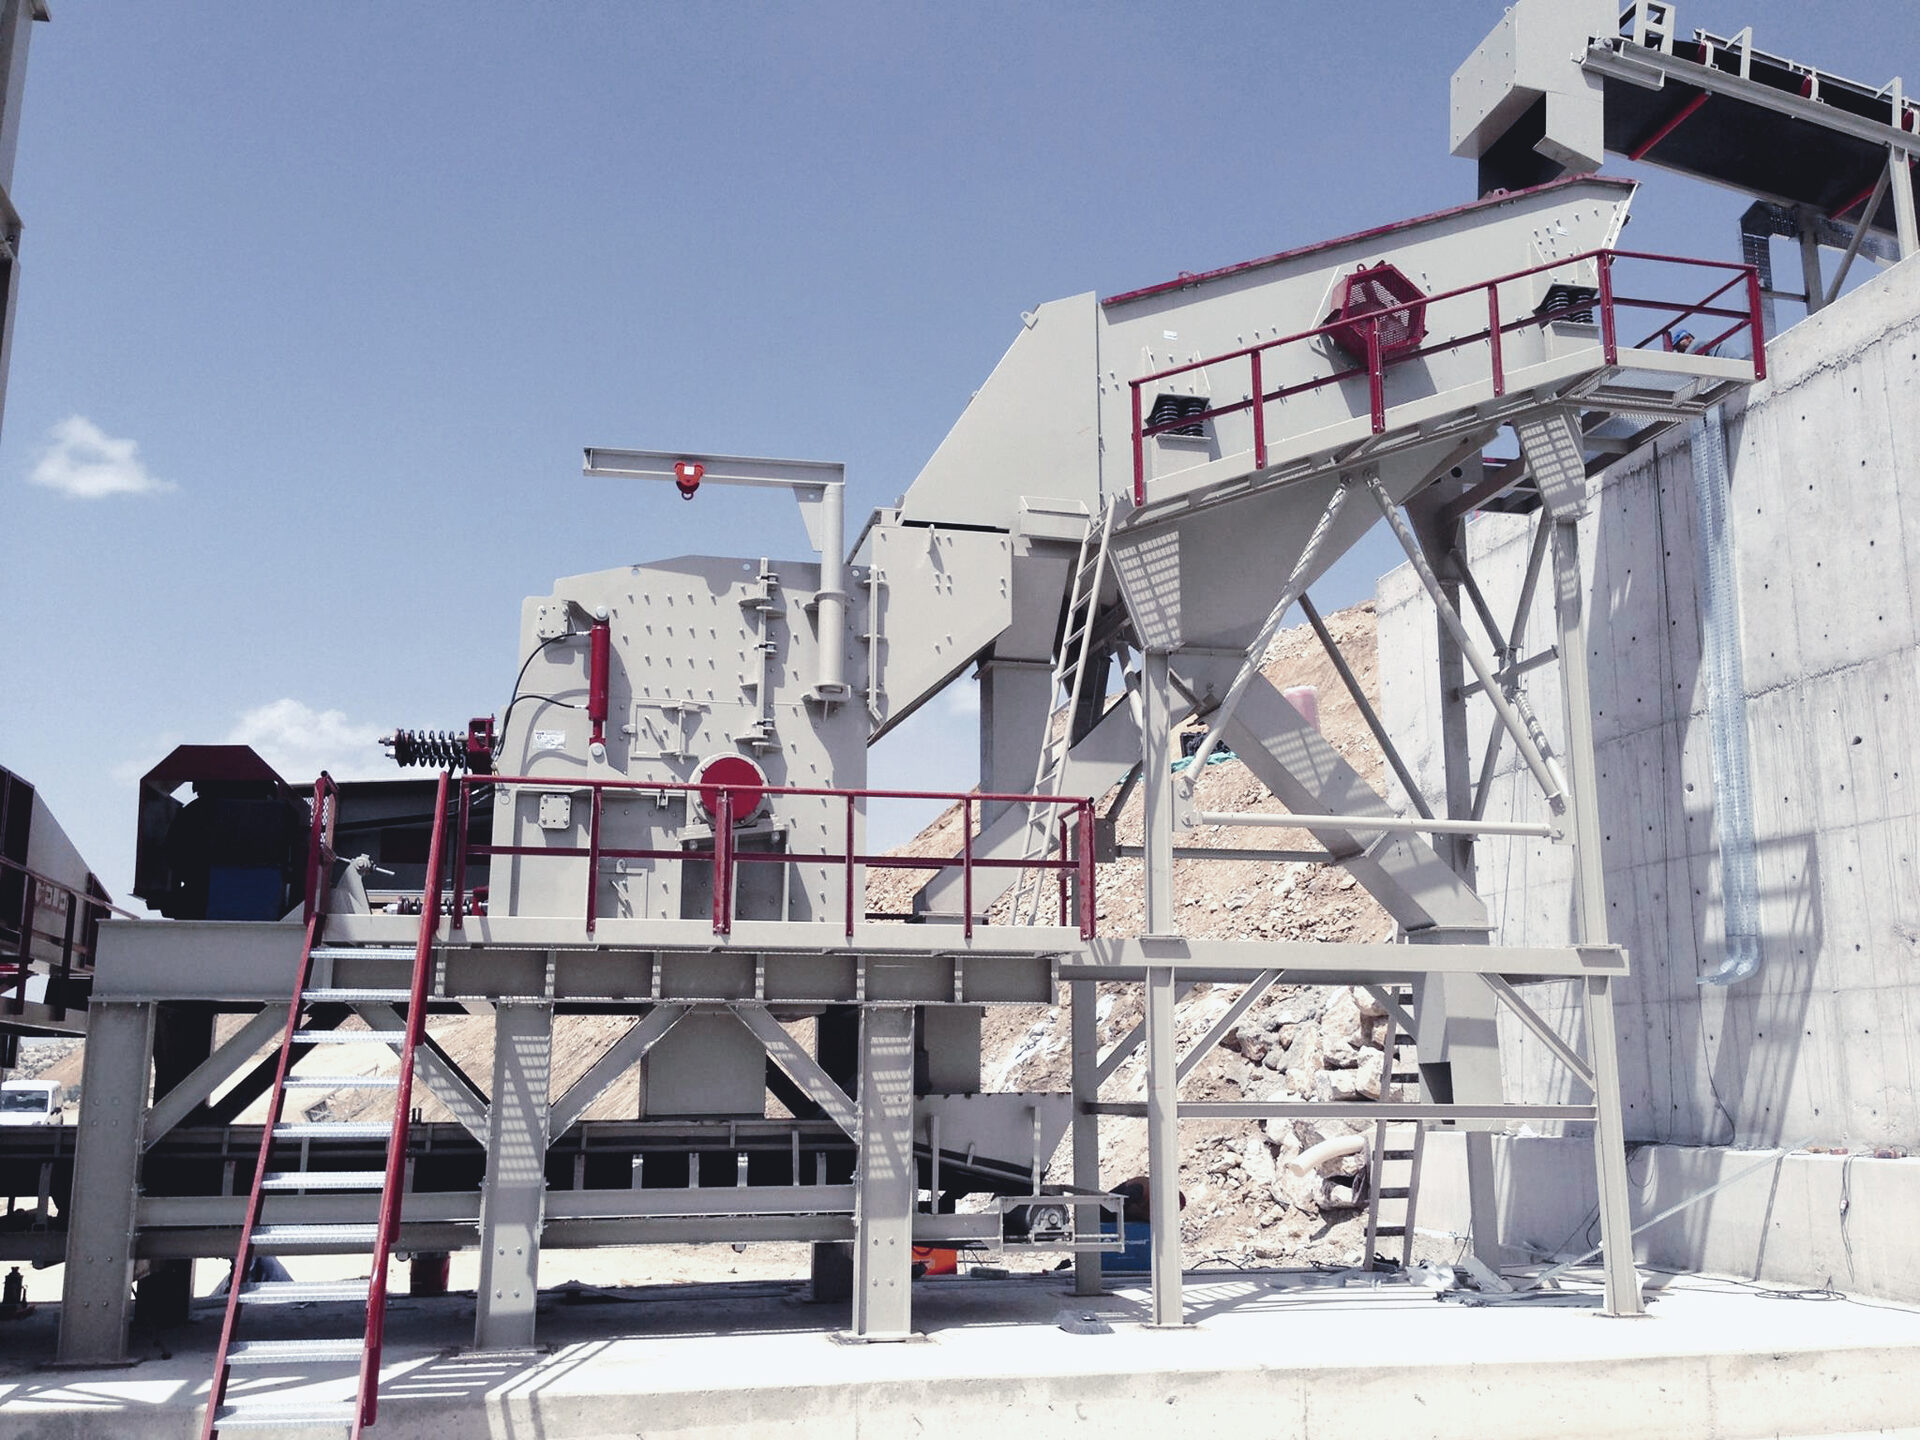
Impact Crusher Maintenance Schedule: Daily, Weekly, Monthly Checklist
Introduction: An HSI impact crusher is a high-energy machine with more wear surfaces and shorter replacement intervals than a jaw crusher. The payoff for disciplined preventive maintenance is significant: plants with structured PM programs typically see 15–25% higher annual throughput compared to reactive-only maintenance operations, due to reduced unplanned downtime. This guide provides a field-ready checklist you can print, post at the crusher station, and use on every shift.
Why Impact Crusher Maintenance Is Different
Impact crushers present a different maintenance challenge than compression crushers for three specific reasons:
- Higher wear rate: Blow bars, impact apron liners, and side liners all experience direct, high-energy impact with abrasive material. Wear rates are significantly higher than jaw plates on comparable material — and failures develop faster. A blow bar with a developing crack can become a projectile hazard within hours if not caught early.
- Rotor imbalance risk: If blow bars wear unevenly — due to off-center feed, mixed feed hardness, or undetected apron gap variation — rotor balance deteriorates rapidly. Even modest imbalance generates vibration that accelerates bearing wear and can cause bearing failure in a fraction of the expected service life.
- Hydraulic system is safety-critical: The apron hydraulic system is not just a productivity feature — it is the primary overload protection mechanism. A malfunctioning apron that fails to open when tramp metal enters the crusher can cause catastrophic rotor damage. The hydraulic system must be verified at every maintenance interval.
Daily Checks (5–10 Minutes Before Each Shift)
These checks take 5–10 minutes and must be performed and logged by the operator before every production shift. They are not optional.
- Visual blow bar inspection: Look for cracks, chips, or significant uneven wear depth across the bar face. Any crack is a replacement trigger — stop production immediately and replace the affected bar before restarting.
- Belt tension check: Check all V-belts for correct tension and for signs of wear, fraying, or glazing. Slack belts slip on startup, overheat, and fail prematurely. A set of belts that slips for 30 seconds every startup has a dramatically shortened life.
- Lubrication: Grease all marked lubrication points per the OEM lubrication chart. Do not over-grease — excess grease traps heat and contaminants. Follow quantity guidelines in the OEM manual.
- Chain curtain: Inspect wear and hanging integrity. A damaged or worn chain curtain allows material to bypass the impact zone and escape the crusher box — reducing gradation control and increasing liner wear on unintended surfaces.
- Hydraulic fluid level: Verify the hydraulic reservoir level in the sight glass before startup. Low fluid level causes apron response lag and can lead to pump cavitation.
- Inlet/outlet check: Remove any accumulated tramp material from the feed hopper or discharge area that may have settled during the previous shutdown.
- Listen on startup: Stand clear and listen for the first 30–60 seconds after startup. Any abnormal noise — grinding, metallic clanking, high-frequency vibration hum — indicates a bearing, rotor, or liner issue. Stop the machine and investigate before continuing production.
Weekly Checks
Weekly checks go deeper than the daily visual and require instruments. Block out 30–45 minutes per week for these tasks.
- Bearing temperature measurement: Use an IR thermometer or dedicated thermocouple to measure all rotor bearing housings. Record the reading. Normal operating range: 60–75°C. Alarm threshold: above 80°C. Shutdown threshold: above 90°C. A single elevated reading may indicate lubrication issues; a trend of rising temperature over several weeks indicates impending bearing failure.
- Rotor balance / vibration check: Review vibration sensor readings from the past week (if installed) or use a handheld vibration meter on the bearing housings. Any increase greater than 10% above baseline warrants investigation — the most common cause is uneven blow bar wear. Compare bar wear depths across the full set.
- Apron / impact plate wear measurement: Use a depth gauge or caliper to measure liner thickness at the marked measurement points. Record every reading and trend over time. This data tells you when to order replacement liners — which may have lead times of several weeks.
- Wedge tightness on blow bars: Re-torque all blow bar retaining wedges to OEM specification (typically 200–400 Nm depending on model). New and recently fitted bars bed in during the first operating hours, and wedges loosen — this is normal, but a loose wedge that is not re-torqued will allow bar movement, causing rotor pocket fretting and wear.
- Belt condition detailed check: Check for cracking on belt sidewalls, fraying at edges, or oil contamination. Check alignment using a straightedge across sheave faces. Misaligned drives waste energy and cause premature belt and bearing failure.
- Dust seal inspection: Check all labyrinth seals and felt seals on bearing housings. Any damage or missing material allows rock dust ingress — the leading cause of rapid bearing failure on impact crushers.
Monthly Checks
Monthly checks require more time (1–3 hours) and in some cases specialist tools. Schedule a planned short shutdown to complete them properly.
- Foundation bolt torque: Re-torque all foundation anchor bolts to OEM specification. Vibrating machines loosen foundation fasteners significantly faster than static equipment. A single loose anchor bolt transfers load to others and can cause progressive foundation damage.
- Hydraulic system pressure test: Test the full apron open/close cycle under power. Verify that both aprons open smoothly and return to set position correctly. Check hydraulic fluid condition — discoloration or milky appearance indicates water contamination; change fluid if contaminated. Change fluid per OEM interval regardless of condition (typically every 2,000 operating hours).
- Apron wear limit assessment: Compare current liner thickness measurements against the OEM minimum thickness specification. Liners worn to minimum must be replaced before the next operating cycle — do not run past minimum thickness, as worn-through liners expose the apron frame body to direct impact.
- Full rotor inspection: With the crusher locked out and the rotor locked, perform a careful visual inspection of all bar pockets for cracking (especially at the pocket corners), surface wear on pocket seating faces, and condition of balance weight attachments. Any crack in the rotor body requires immediate consultation with the OEM before restarting.
- Bearing housing check: Inspect all bearing housings for oil or grease leaks, discoloration or staining from heat, or visible damage to labyrinth seals. Any of these symptoms require investigation before the next production cycle.
- Drive alignment check: Check motor-to-crusher belt alignment using a straightedge or laser alignment tool. Misalignment of even 1–2 mm on large-drive systems causes significant bearing loading and belt wear. Correct if outside OEM tolerance.
Blow Bar Wear Limits and Replacement Triggers
| Indicator | Check Method | Action |
|---|---|---|
| Thickness below 50% of original | Depth gauge or wear template | Replace — do not wait for further wear |
| Uneven wear pattern across bar face | Visual inspection + measurement | Check feed distribution, rotor alignment, and apron gap symmetry before fitting new bars |
| Cracks visible on bar face or body | Visual — look at perpendicular light angle | Replace immediately — crack propagation is sudden and can cause rotor pocket damage |
| Weight difference between pair exceeds 3% | Weighing scale | Replace both — do not mix bars of different weights; imbalance accelerates bearing failure |
| Output particle size increasing despite consistent apron setting | Sieve analysis or visual gradation check | Check bar wear and apron gap; bar wear effectively increases the gap to the apron |
Bearing Temperature Reference Chart
Bearing temperature is the most reliable leading indicator of impending bearing failure. Measure consistently at the same point on the housing using the same instrument for reliable trending.
| Temperature Reading | Status | Required Action |
|---|---|---|
| Below 60°C | Normal — cold end of range | Continue operation; record reading |
| 60–75°C | Normal operating range | Continue operation; monitor at standard frequency |
| 75–80°C | Caution — elevated | Increase monitoring frequency; check lubrication quantity and quality; look for external heat sources |
| 80–90°C | Warning — investigate now | Reduce feed rate and load; re-lubricate per OEM procedure; investigate root cause before continuing full production |
| Above 90°C | Shutdown — imminent failure | Stop machine immediately. Do not restart until bearing has been inspected and root cause diagnosed and resolved. |
Important: A bearing that has reached 90°C and been allowed to cool is not safe to restart without inspection. High temperature causes lubricant breakdown and steel microstructure changes that make bearing failure imminent even after the machine cools down.
Maintenance Log Template
A maintenance log is essential for three reasons: it creates accountability, it enables trend analysis (spotting bearing temperature drift before failure), and it satisfies warranty and insurance requirements. Keep a minimum 90-day rolling log on site at all times.
| Date | Check Type | Item Checked | Reading / Observation | Action Taken | Technician |
|---|---|---|---|---|---|
| dd/mm/yyyy | Daily | Bearing temperature — drive side | 72°C | Normal; no action | Initials |
| dd/mm/yyyy | Weekly | Blow bar wear — all 4 bars | Bar 1: 68%, Bar 2: 65%, Bar 3: 70%, Bar 4: 67% | Monitoring; order at 50% | Initials |
| dd/mm/yyyy | Monthly | Hydraulic apron open/close test | Both aprons operating smoothly; fluid level OK | No action required | Initials |
Related Articles
- Complete HSI Crusher Guide — working principle, sizing, blow bar selection, and cost-per-ton analysis.
- Blow Bar Selection Guide — match alloy to your rock type and operating conditions for maximum wear life.
- Impact Crusher Troubleshooting Guide — diagnose and resolve common faults before they escalate.
Conclusion
The cost of preventive maintenance on an HSI crusher is measured in minutes and tens of dollars per day. The cost of unplanned downtime from a preventable failure is measured in hours to days and thousands of dollars in lost production, emergency parts procurement, and expedited labor. There is no ambiguity in the economics — disciplined PM always wins.
Print this checklist, train your operators to use it, and review the maintenance log weekly as a production manager. GELEN HSI crushers are designed with maintenance access in mind — hydraulic apron adjustment, easy blow bar access, and centralized lubrication points — but the design only delivers its benefits when the PM schedule is followed.
For spare parts availability, technical support, or a site-specific maintenance plan, contact GELEN engineering.